


Bikesoup highly rates the Asgard Centurion Bike Shed x6

Bikesoup Reviews the Asgard Centurion Police Approved Bike Shed x6
Posted: July 2016
View the article on their website.
Bikesoup highly rates our Centurion Police Approved Bike Shed x6 - "I absolutely cannot fault this shed at all, both on build quality, ease of assembly and general aesthetics". Read the full review below:
If you're anything like me and you engulf yourself in racing and various cycling activities, you've probably got bicycles coming out of your ears, and dining rooms and spare rooms tend to become "bike rooms" instead of their intended purpose. Although the garage is usually covered under house contents and bicycle insurance, many of us have to jump through hoops to ensure they're secured to specified standards, and even then, you can't claim back the time and effort gone into sourcing your favourite rides and missing the events you intended to attend before a thief stole your precious steads. It is therefore always better to prevent such a horrendous act, than to replace such believe possessions. Enter Asgard and their police- and insurance-approved metal sheds.
 |
 |
The Spec
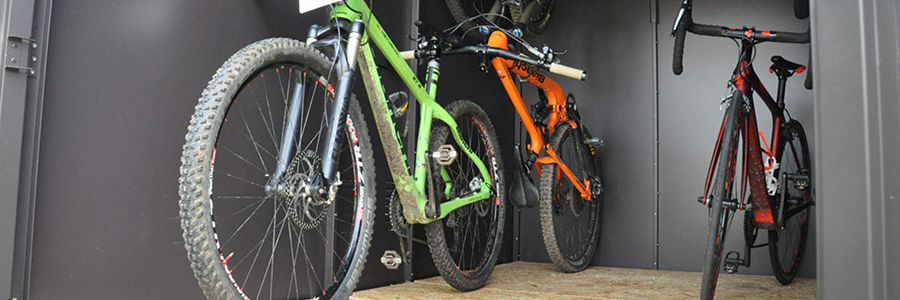
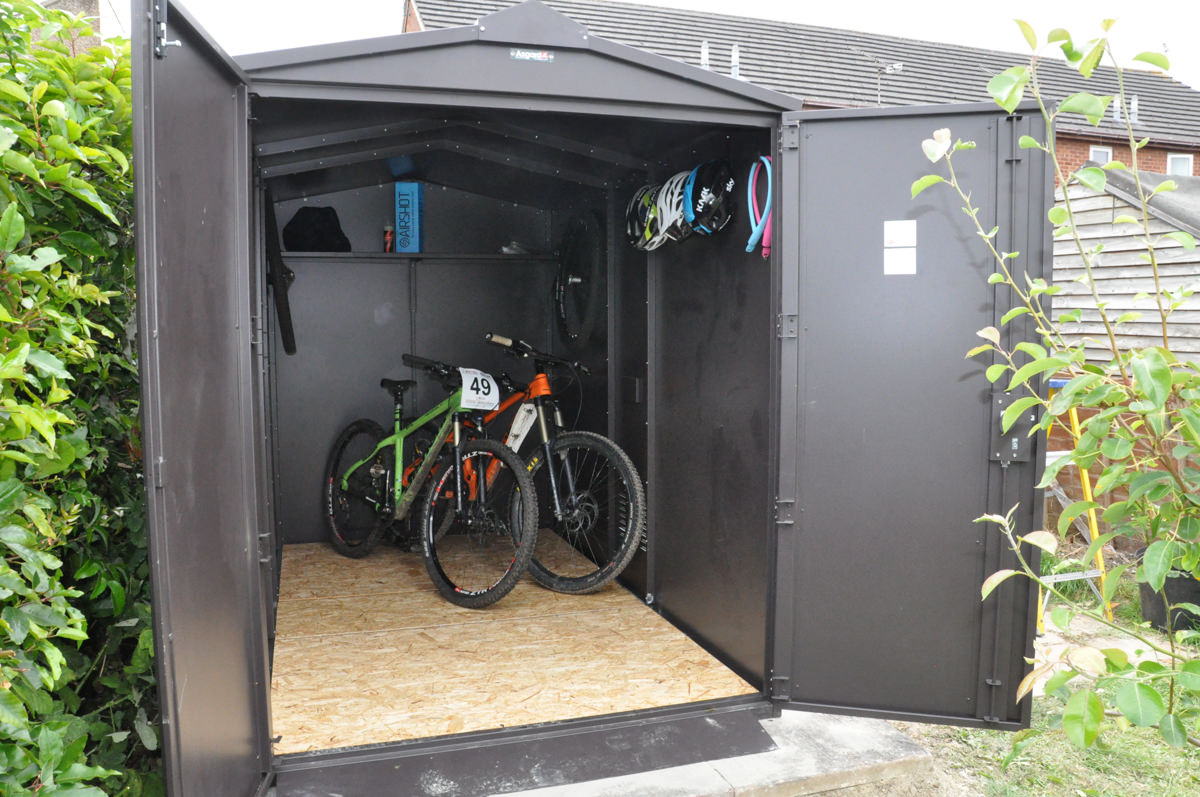
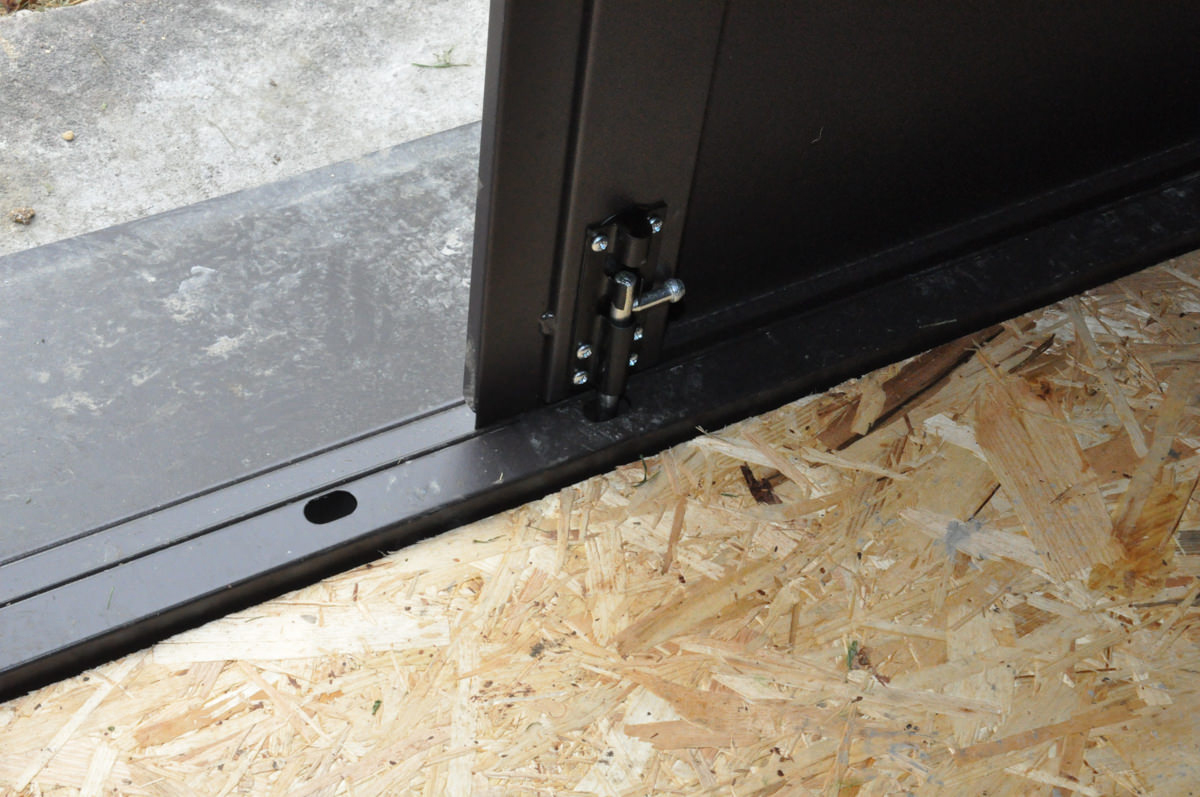
The shed is a fully enclosed storage unit, including the metal floor, and is made from galvanised, weatherproof steel, totalling 294kg in weight. The side panels are reinforced and resistant to attacks. The reinforced doors hang on welded hinges with a five point shrouded locking system. There is a dead bolt door on one side, and the other is locked with a pick- and drill-resistant lock to prevent forced entry. It is police approved, insurance approved and locksmith approved. The shed is air-vented, which minimizes moisture inside the unit, keeping bikes dry and safe from extreme heat. All bolts are on the inside, but they are also covered to prevent them hooking or shredding tyres. Heavy duty hooks and a shelf are included, and the sheds come in dark green, brown (pictured) and ivory (much like a country cream).
The Build-Up
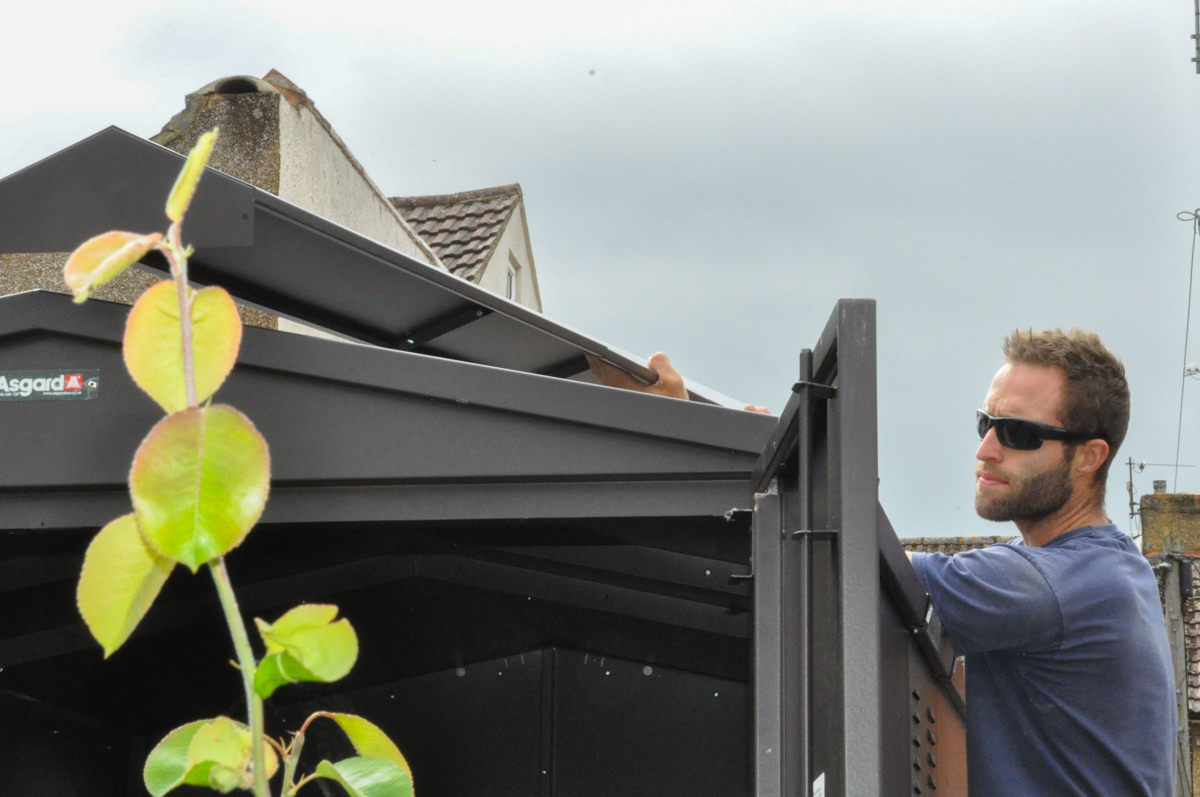
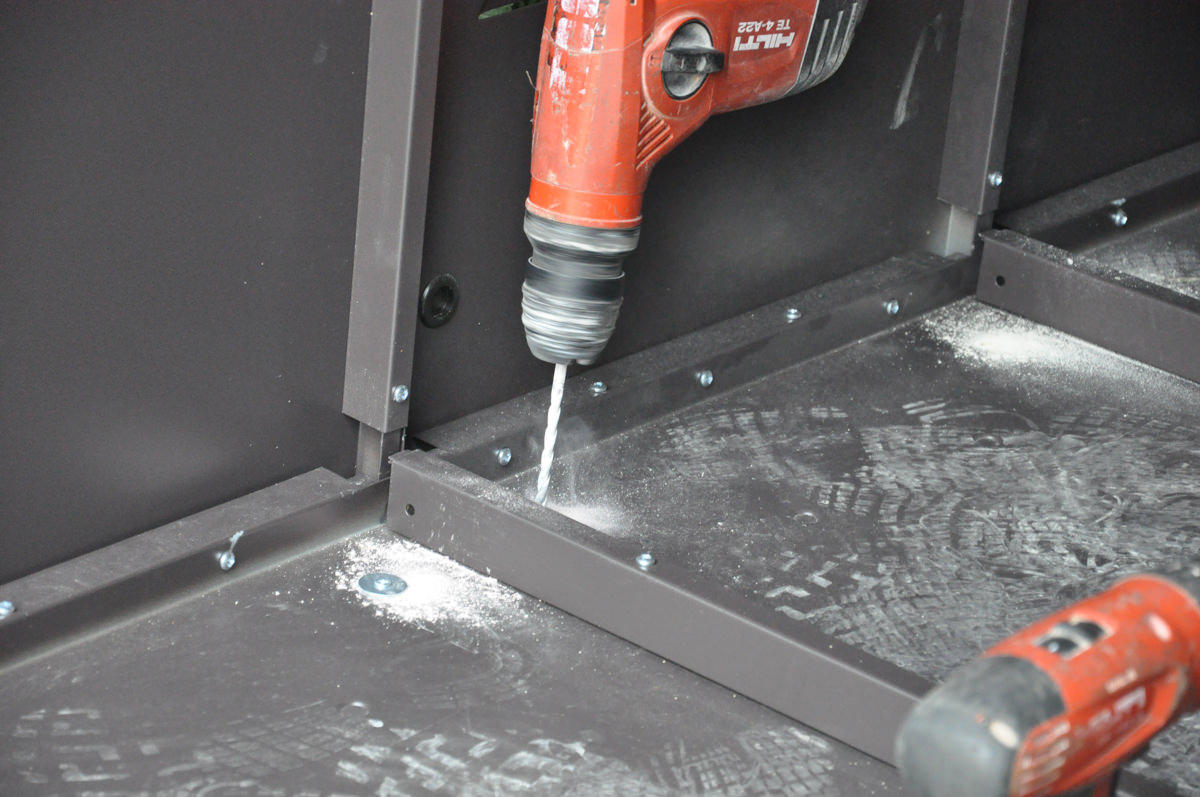
After installing a cement base and concrete slabs to the far corner of my garden (tips on how to do so can be found here), I decided to be really clever and start with the left-hand rear corner of the shed so that I could work my way out of the furthest corner, and away from the slightly awkwardly placed thorny blackberry bush, despite the instructions stating a rear right-hand start. Being an A-Level standard Ikea furniture builder, I thought I had made a smart move, but it turns out the instructions were smarter than me. Who knew, right? You see, every piece slots perfectly into each other in a specific sequence. We later made an error thinking that the two large roof pieces were the same, which they weren't, and later caused ourselves a great deal of wiggling and balancing to get the side pieces in underneath the incorrect panel. The instructions, although simple diagrams, do have very specific details that highlight which piece goes where and how many bolts go into which part of what panel. My advice is to follow it to the letter if you can identify the minute differences, as there are no written instructions. In Asgard's defence, they had labeled all the panels with helpful stickers and names such as "rear right-hand side panel", but after a night's rain before building the shed, we had lost a few labels and had to treat the shed like a giant puzzle.
Had we have slotted the right panels in at the right time and screwed the correct number of bolts in where we were told, the shed would have taken about 45 minutes to assemble in it's basic form. Adding all the finishing touches like the remaining bolts in their tens for each seem, the inside seem covers, the roof shroud, the silicon weather-proofing, and the hooks and shelf, and you're looking at at least three hours from start to finish with two people. A video of the build can be seen here. All-in-all, it was a lot simpler to assemble than I had anticipated, and the panels were easy to move by walking or rolling them, despite their weight. You really do need a level ground to set it on though, otherwise the doors would be a nightmare to align with grommets. The biggest problem I'd say with self-assembly is the tools you need - if you don't have a descent drill, electric screwdriver, step ladder, and silicon gun, then you may want to consider their Asgard building options.
 |
 |
In Use
Once built this shed is quite the beast, but it's five foot width means it doesn't look too monstrous from the front. It is solid and heavy and barely needed bolting down to the ground. There are vents dotted here and there so the shed can breath, but obviously it still gets a tad warm inside, though not as much as, say, a car. The door is solid and all the seems and bolts are on the inside, so it's pretty thief-proof. I know other Asgard owners that have attacked there sheds with hammers and chisels out of curiosity to no avail. Being thick sheet metal, there's no way you can open this thing from the outside without waking the neighbours up with a chainsaw or an angel grinder, and even then I think it'd take some doing. This is not like your standard cheap high-street metal sheds. The locks and doors have a smooth seamless action and the wooden flooring is a nice solid and aesthetically pleasing touch to finish off what is ample storage for six bikes. I dare say you could probably get more than six road bikes in there, but it would be a bit of a squeeze. I comfortably fitted six mountain bikes in there, including a long-wheelbases enduro bike with stupidly wide bars, but to avoid scuffing each other you may want to get some free-standing bike stands to slot the wheels into, and you'll need to alternate them in a slightly zig-zagged formation.
If you're handy like us, there are unlimited features you can build into this shed, much like customising the inside of a work van. We made good use of the hooks provided, and may grab ourselves some more accessories in the future, thanks to all the add-ons Asgard offer. In the meantime, we decided to add a wooden beam to the shelf and add some silicon coated hooks to hang the front tyres on. This leaves the bikes to hang in the back of the shed (around three to four depending on width and compatibility with each other), which frees up space in the front for another three, and it gives the bikes space to breath and room to be manoeuvred in and out more easily, as stacking the bikes always means an arduous task when it comes to getting 'the one at the back'.
The Verdict
I absolutely cannot fault this shed at all, both on build quality, ease of assembly and general aesthetics. Throw in all the add-ons and the ability to customise the inside to your own needs and you really can't go wrong with this shed, especially when it is of a gold standard of security that is probably more secure than your garage and even your house. The price is very reasonable given the quality of materials you get with it and, although it is around the same price as a freight container, it's a heck of a lot more pleasing on the eye in your back garden.
Latest News
Chamatkar Sandhu Chooses Asgard for Garden Storage
TNT Sports presenter Chamatkar Sandhu chose the Asgard Centurion garden storage shed to keep his production kit and garden equipment secure.
Customer Reviews
![]()
See customer pictures & shed reviews.
See Asgard customers proudly showing off their new sheds, send in your Asgard pictures & reviews for a chance to win!
FAQs
![]()
Your questions answered
Here you will find answers to the most commonly asked questions about all our high quality products.
Latest Blog
How to Beat the Heat: Storing Your Belongings Safely in Metal Sheds
Discover how to manage heat in metal sheds and protect your belongings. Learn practical tips for insulation, ventilation, & storage solutions with Asgard.
Secured by Design
![]()
Asgard high security sheds have been approved by the Secured by Design police initiative.
LPCB Approved

Our sheds have been rigorously tested & approved by the Loss Prevention Certification Board.