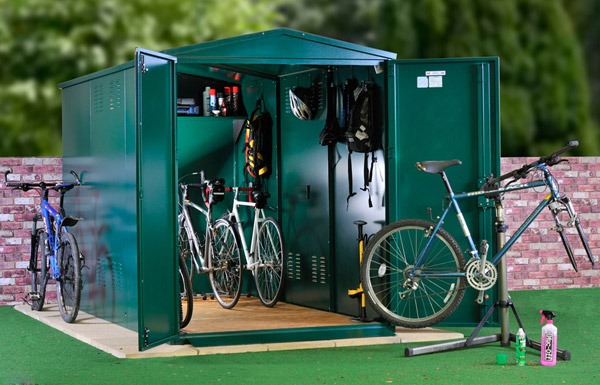
Building the Asgard Cycle Store x8
How to build Asgard Cycle Store
All Asgard storage units are supplied flat pack, with an optional installation service. However building your Asgard bike shed is easy to do with the step-by-step instructions supplied. Here is a quick over view for more information see our installation pages
Before you build
Before attempting to build your Asgard bike store please make sure that you have prepared a level, concrete base for your storage unit to sit on.
This build require minimal tools. You will need:
- An electric screwdriver.
- A traditional screwdriver for fitting the doors.
- A Spanner if you are bolting your garage to the ground.
- A friend, as it is recommended that two people carry out this task.
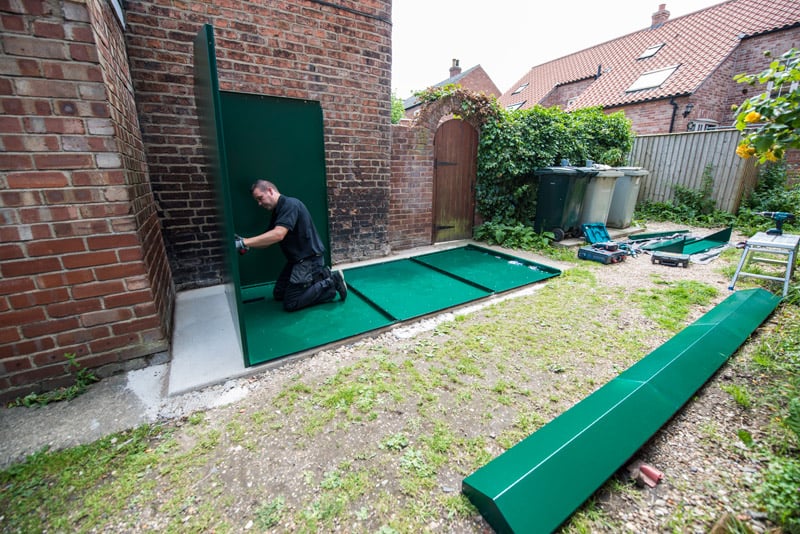
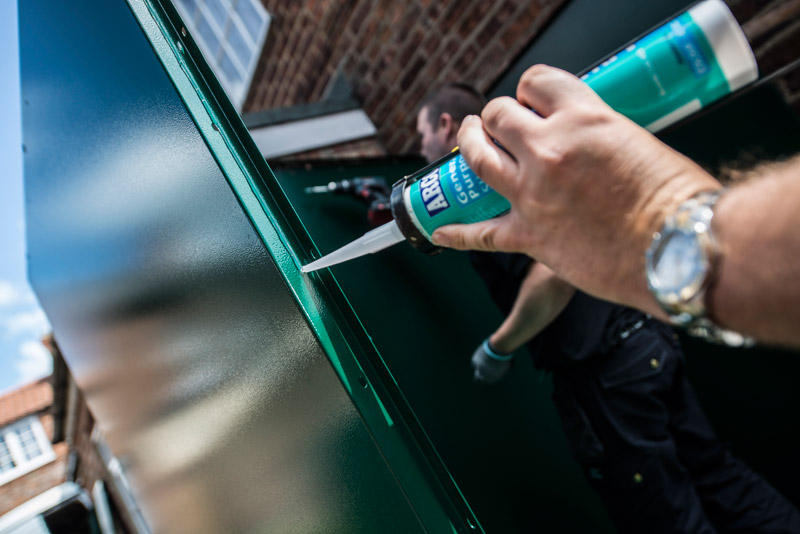
First put the 3 floor sections of the bike store onto the concrete base and screw these together. Next secure the right rear side and right back panel to the rear floor panel. Followed by the left rear side and left back panel. Screw all of these panels together, remembering to put silicon sealant between each panel as you go as this is used to keep heavy rain out.
The middle vented side panel section should be added next, followed by the rear roof section of the bike store.
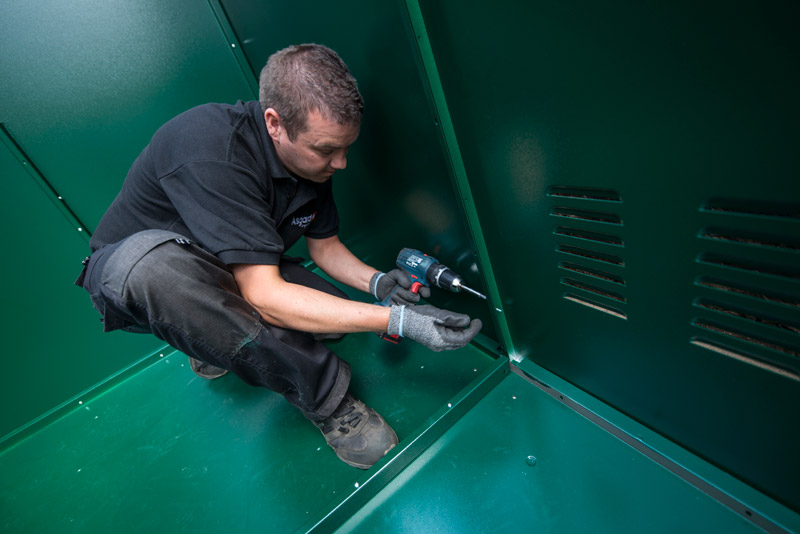
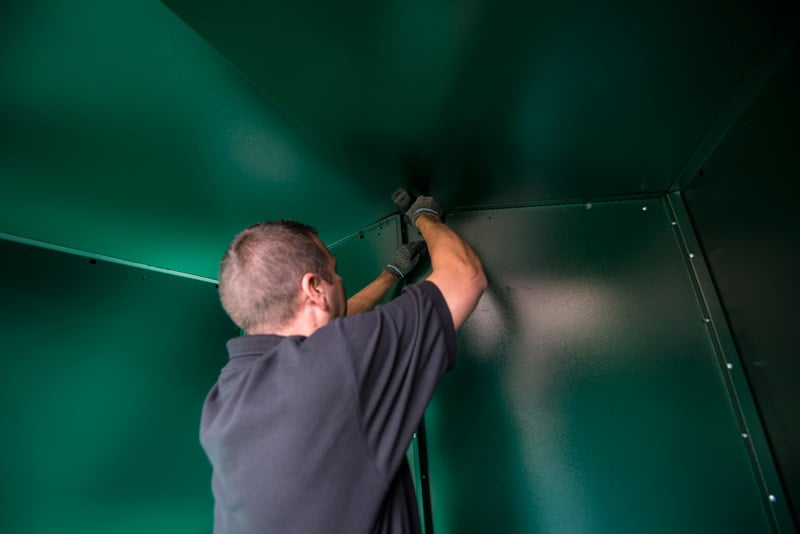
Next secure into place the final front side panels of the bike storage unit, again remembering to add silicon sealant between each section. This should be followed by securing the middle roof section into position.
After this, the front fascia needs to go on next. Then screw the final roof section into place and secure the top shroud
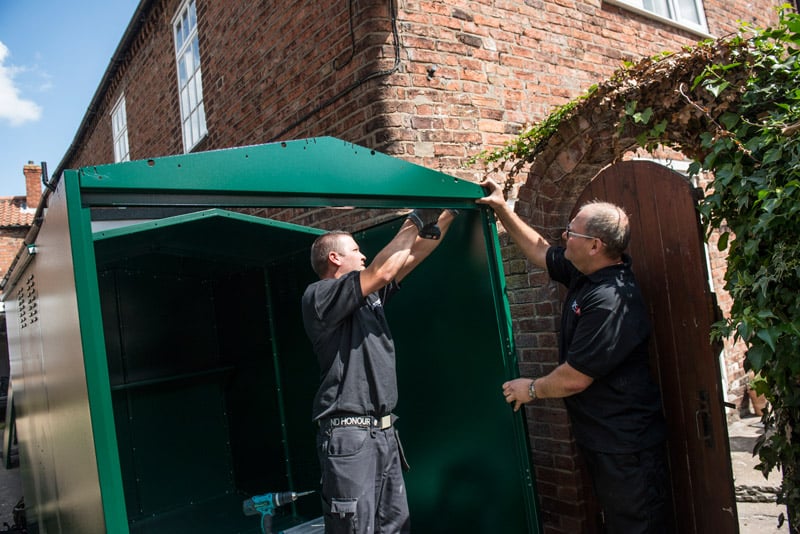
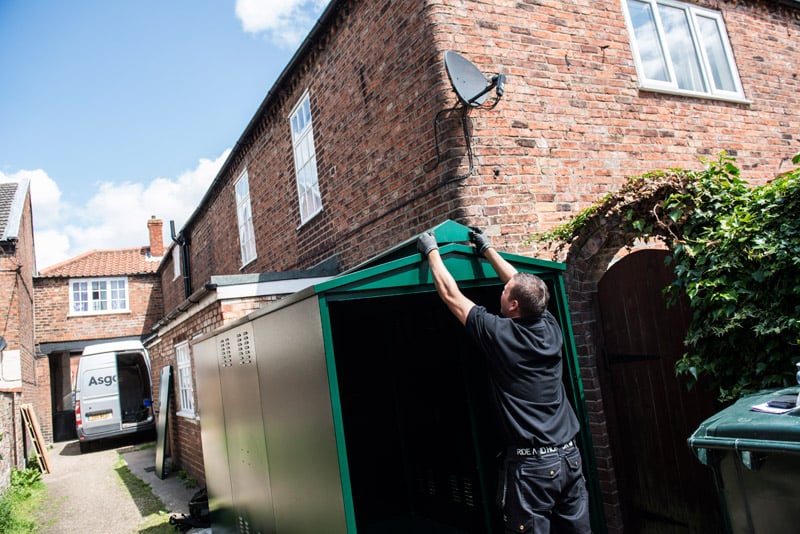
For this next section you will need to switch to your traditional screw driver. The doors now need screwing into place. During this section of the installation, make sure that the doors are supported at all times to ensure correct alignment.
Switching back to your electric screw driver, fit the cover channels over the seams on the inside of the unit. Once this has been done, you’re ready to secure the shed base down to concrete using the supplied fixing bolts.
Finally you are ready to lay down the protective wooden floor and fit the ramp.
Now you’ve finished, your bike store is ready to use!


