


A Step-by-Step Guide to Laying a Concrete Shed Base
“How to lay a suitable shed base for my garden shed”?
It has to be our most asked question. So we have teamed up with Chris Walkden from Walkden Brick Layers to give you a step-by-step breakdown of how the professionals do it.
Step 1: Preparing
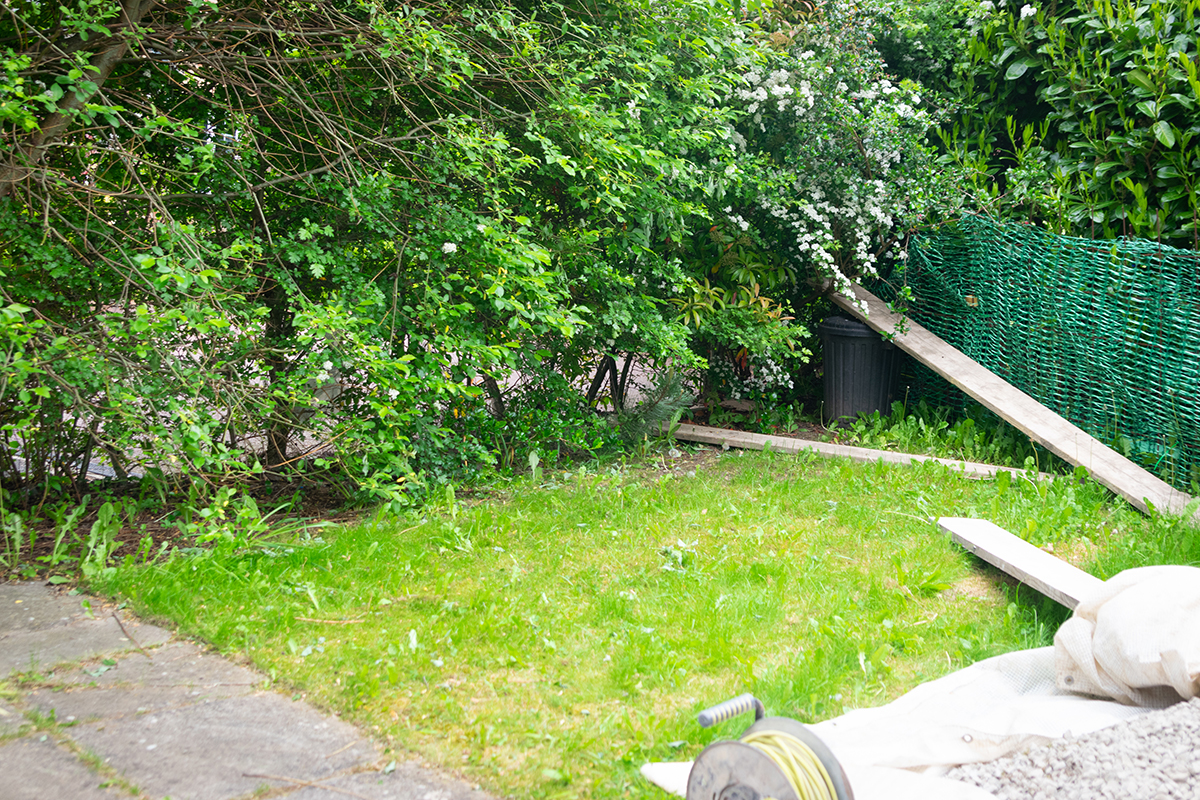 |
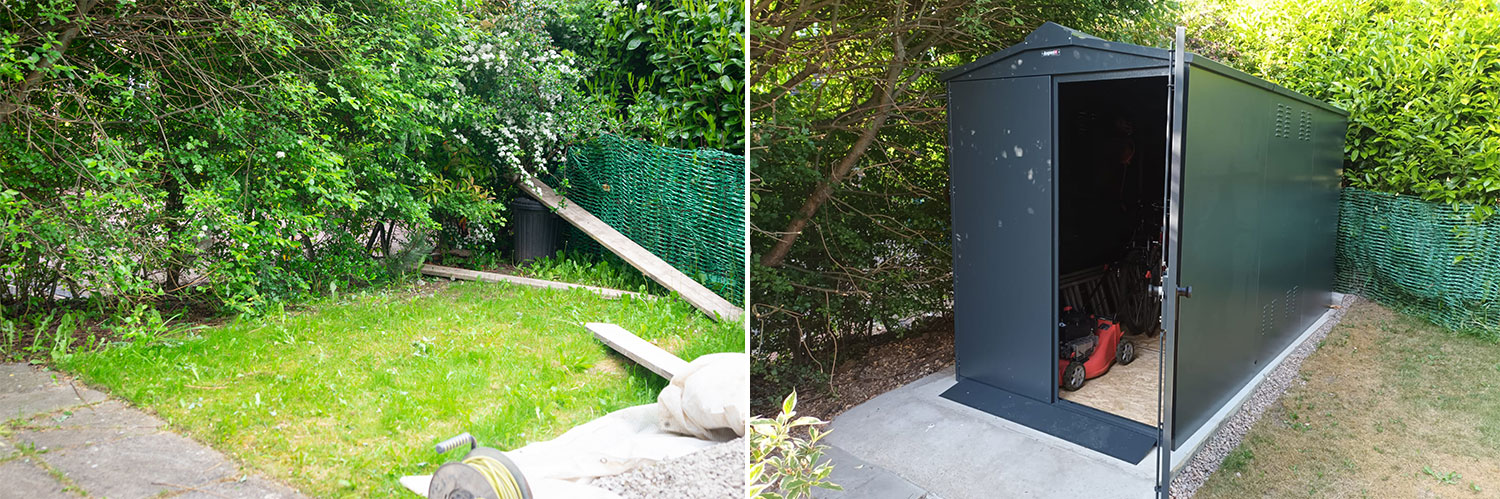
What to do: Pick a suitable location. Measure and mark out your digging area using (wooden) pegs. Edge with a spade. Pick a suitable location: Base location is key, try and find an area that is as flat as possible and away from excessive foliage. The flatter the ground the less “digging out” will be needed, and the easier it will be. If you are near foliage, cut it back as much as possible before you start. Bushes and trees can increase the chances of moisture inside your shed, and roots can grow under your base and cause damage in the long term. As you can see by this image, this was a typical new build garden, with a Runoff slope (for drainage). |
|
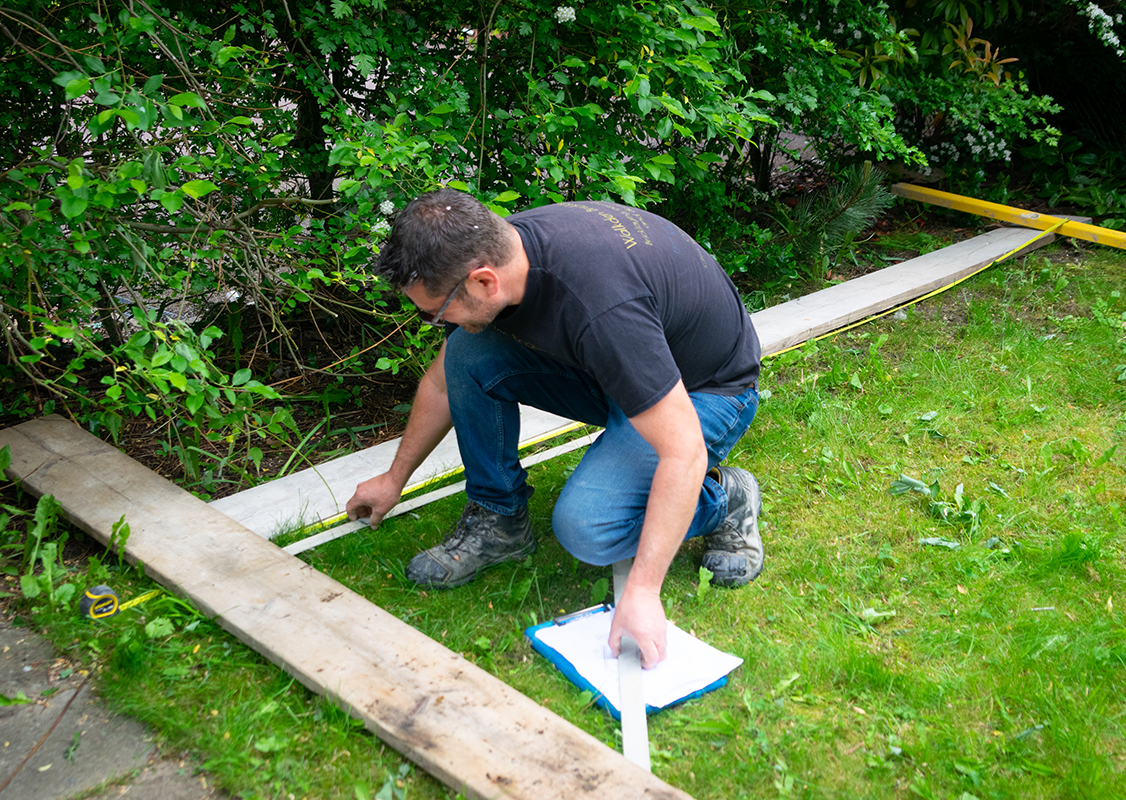
Measuring and marking out: Measure the area according to the instructions supplied with your unit, note the base dimensions are larger than the actual shed base, this is not an accident or a mistake, the extra size will help to prevent the base edges from cracking over time. If the base is too small constant use will result in damage as pictured below. Mark out the area using a line (string or twine) and (wooden) pegs. |
 |
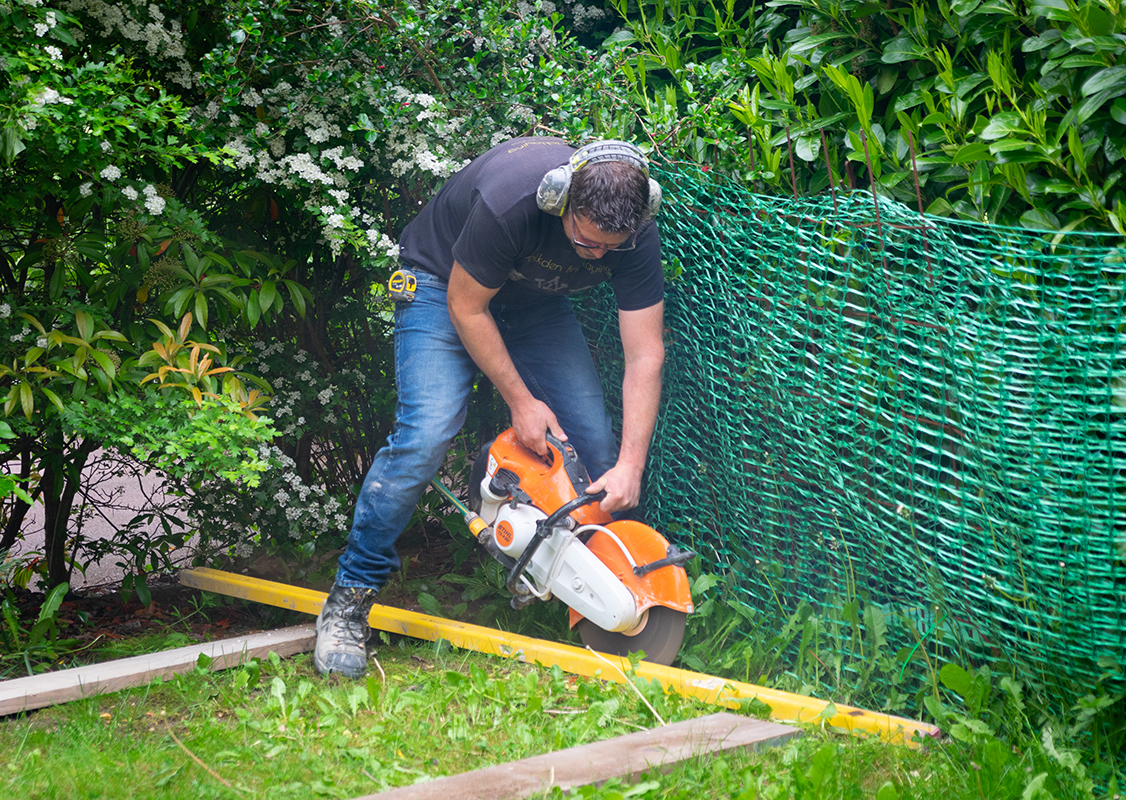 |
Edge with a spade: Chris used a saw to further mark out the area but not everyone will have the benefit of a spare power saw, so we recommend just using a spade around the edge, this will give you somewhere to dig out to and give you a nice clean edge for your shuttering. Pro tip: Edging the dig-out area ensures a clean edge, making shuttering simple. |
Step 2: Digging out the base.
|
What to do: Dig down to a minimum of 50mm (or chosen depth). Note, if you are installing a ground anchor, a minimum depth of 100mm is advised. |
|

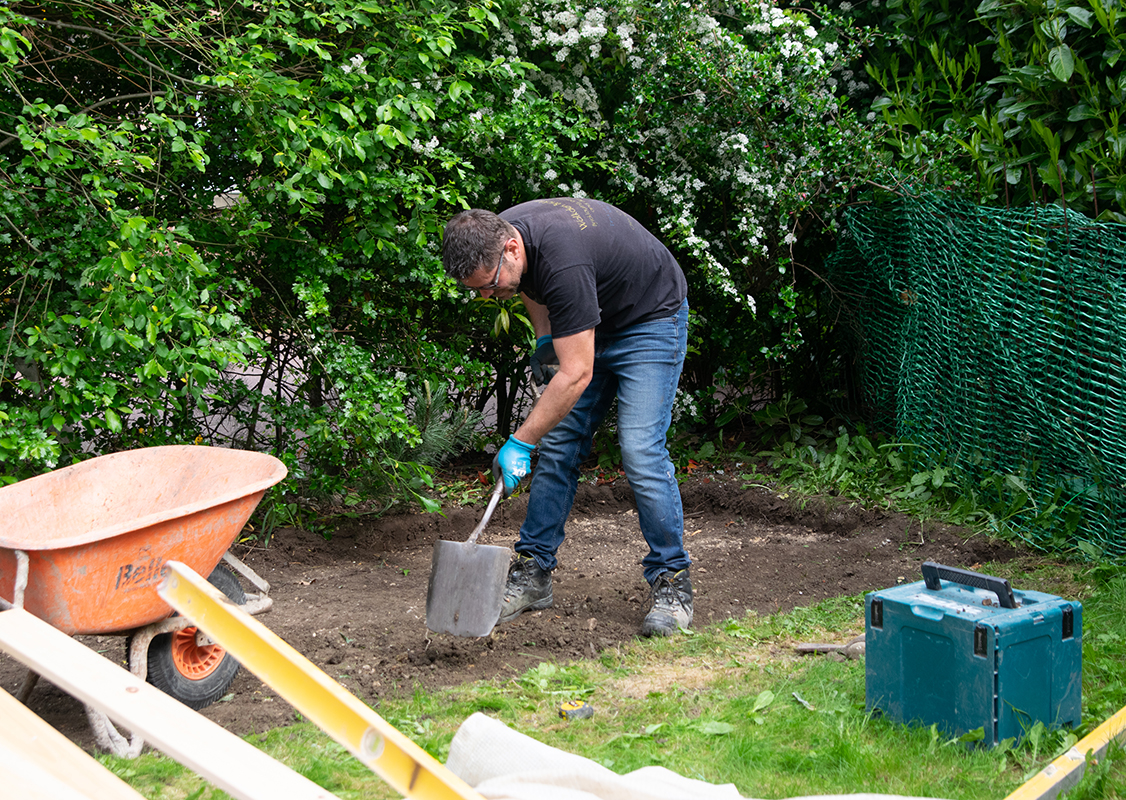 |
Digging! Start digging!! Try and dig down to a minimum of 50mm if you can, this is the minimum Asgard recommends for good base stability, if you can go deeper, go for it!! The deeper you dig, the stronger your base will be but it will take more concrete to fill and so will be more expensive. You will find if your ground is not level you may have an uneven dig down, in this example we have 50mm at the front and 100mm at the back due to the slope of the garden. Once you have dug down enough (and this does not have to be perfectly level or exactly to measurement, the levelling will come when you add the concrete. Near enough level will do! |
|
Pro Tip: Use a new sharp spade, a good quality spade will make light work of turf. Ensure you get any tree roots out of the way as they will cause the concrete to crack over time. In the case of the base we did, the ground was firm already, so there was no worry about possible movement in the base. Due to the sloping garden, I installed a layer of Crusher-run hardcore to build up the area. Crusher-run is not the same stuff as Type One MOT; when you compact MOT, is creates a firm, solid base, Crusher-run moves more and does not really compact, it's more for infilling voids and levelling areas. |
|
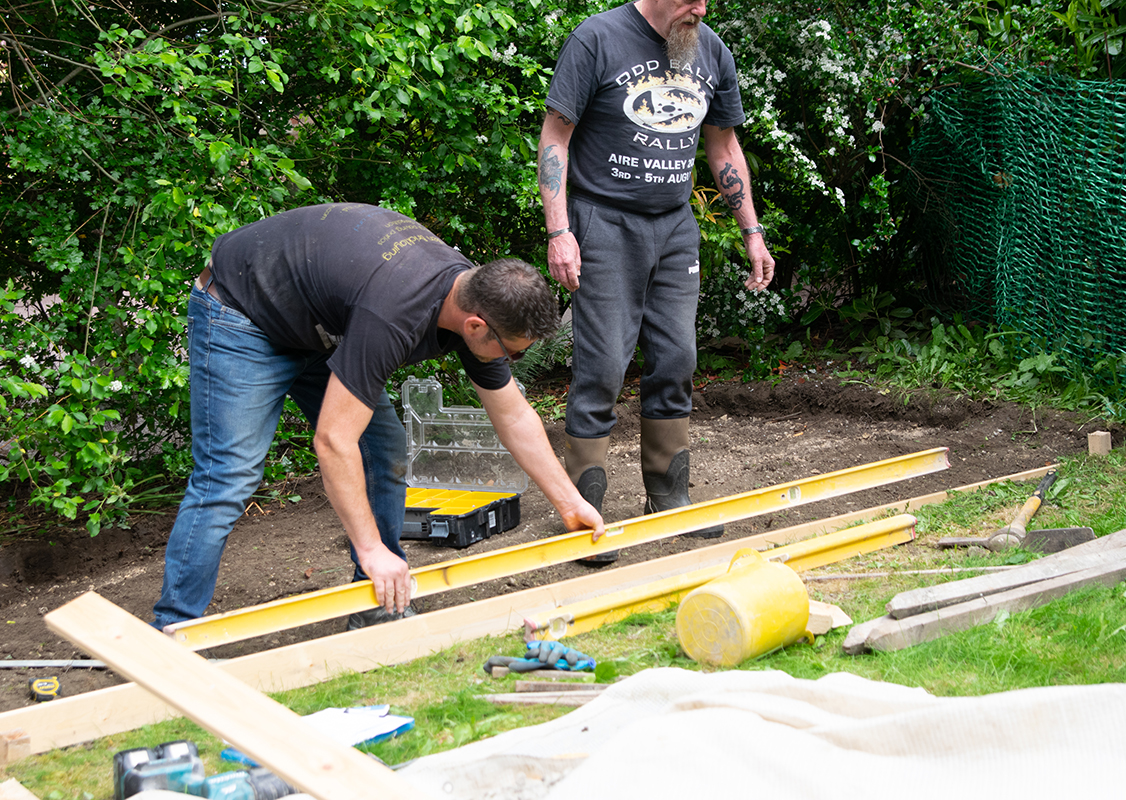
Step 3: Shuttering
|
|
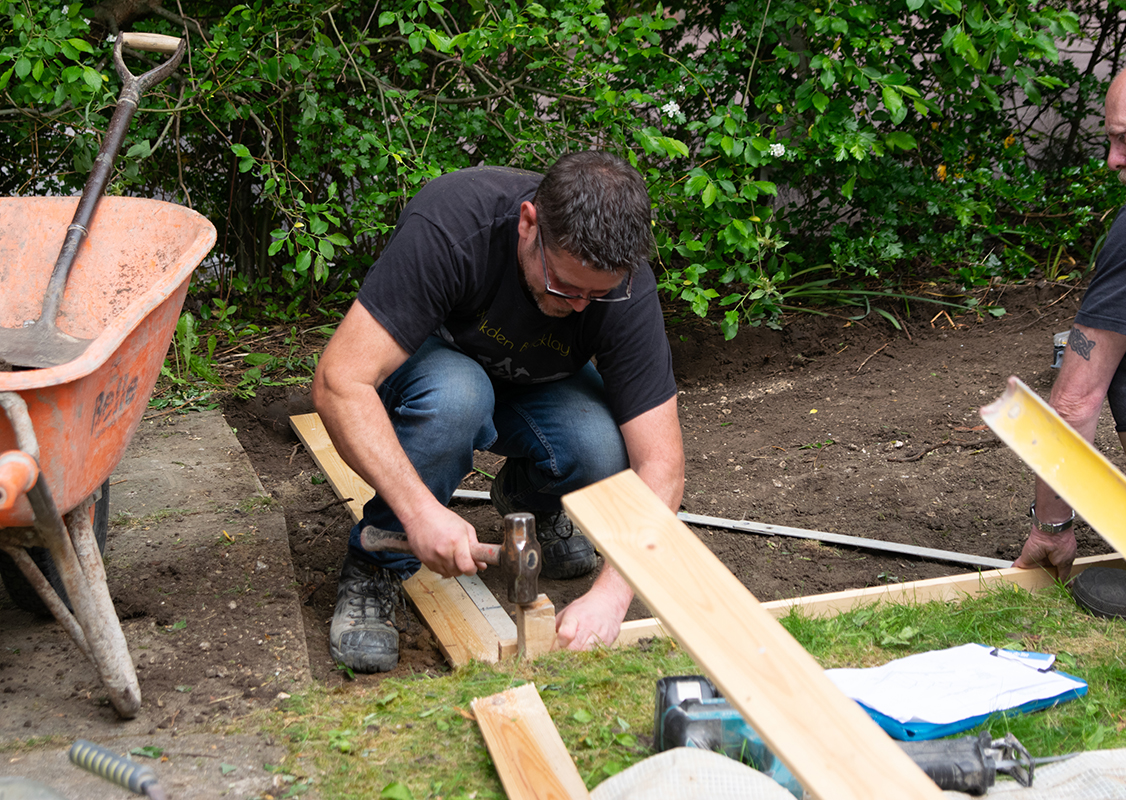
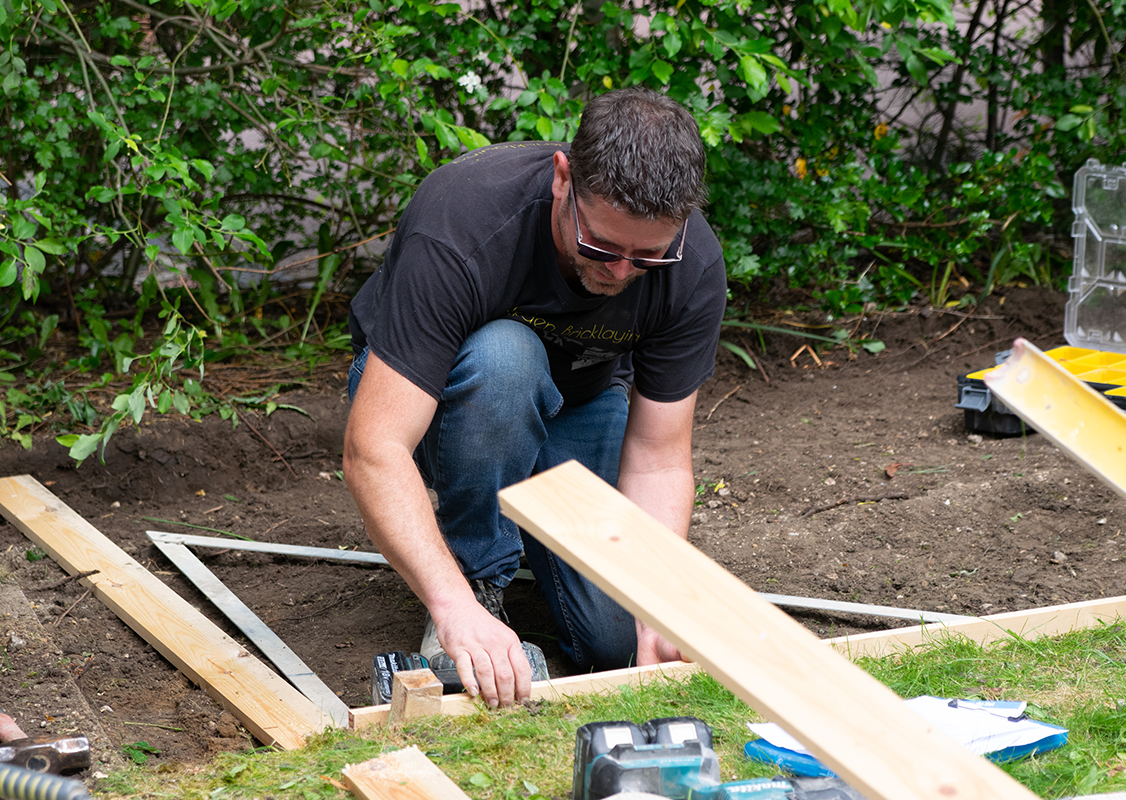
What to do: Putting in pegs. Fixing shuttering planks and levelling. Putting in pegs is easy, simply knock a square peg in each corner of the dugout area, (in our example the pegs were around 8 inches long) and then one in the centre of each side as shown in the image. Most decent builders merchants will sell pegs or be able to cut some for you and put a spike on the end for a minimal cost. |
|
The shuttering used here was 4” x 1” cut to length, as long as they are straight anything will do. Use a spirit level to get the plank level and screw to a peg at the opposite end. Knock the pegs in deep enough so the weight of the concrete will not push the framework over. Using a drill, screw through the timber formers into the pegs and make sure the timbers stay level with each other. Make sure you have enough pegs in place to hold the former. Repeat for each side of the dug-out area until you have a frame. |
|
|
|
ProTip: Get the planks dead level to ensure your concrete will be level when poured. ProTip: Make sure your planks are cut to the correct length for your base before fixing. If you do not have a large set-square as I used, you can use the 3, 4, 5 method, measure 3 ft along one side, 4 ft down the other side and hold the tape measure between the two marks you put on the timbers; it should read 5ft, if it does not, just move one of the timbers slightly until it reads 5ft. |
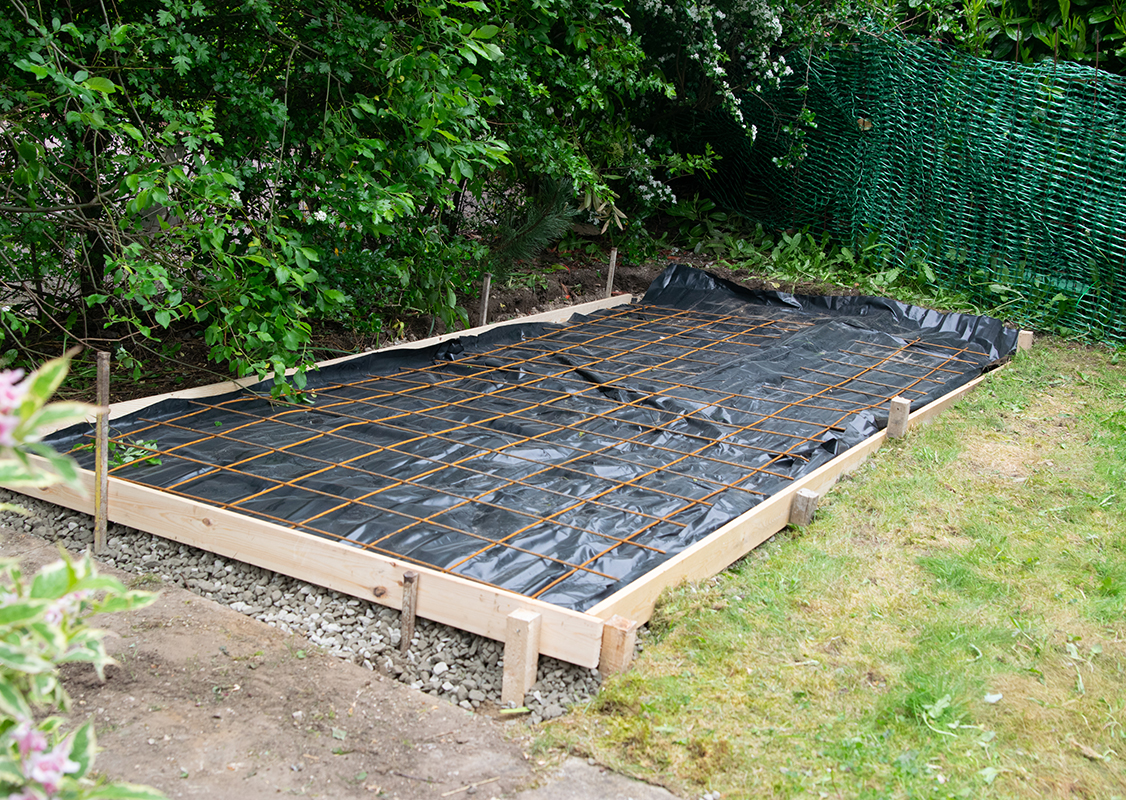
Step 4: Reinforcing the base (optional)
|
Chris is a professional builder and so will always go that extra mile. Chris has used a DPM Visqueen membrane in his base. A membrane will pretty much eliminate the risk of condensation or moisture rising from the ground. This effect makes your base water-resistant underneath so stops moisture from rising. Chris also used a metal reinforcing grid, this adds even more strength to the base and will prevent the base from cracking no matter how much weight is in your shed. Pro Tip: A membrane is a good idea to reduce any moisture in your shed. |
 |
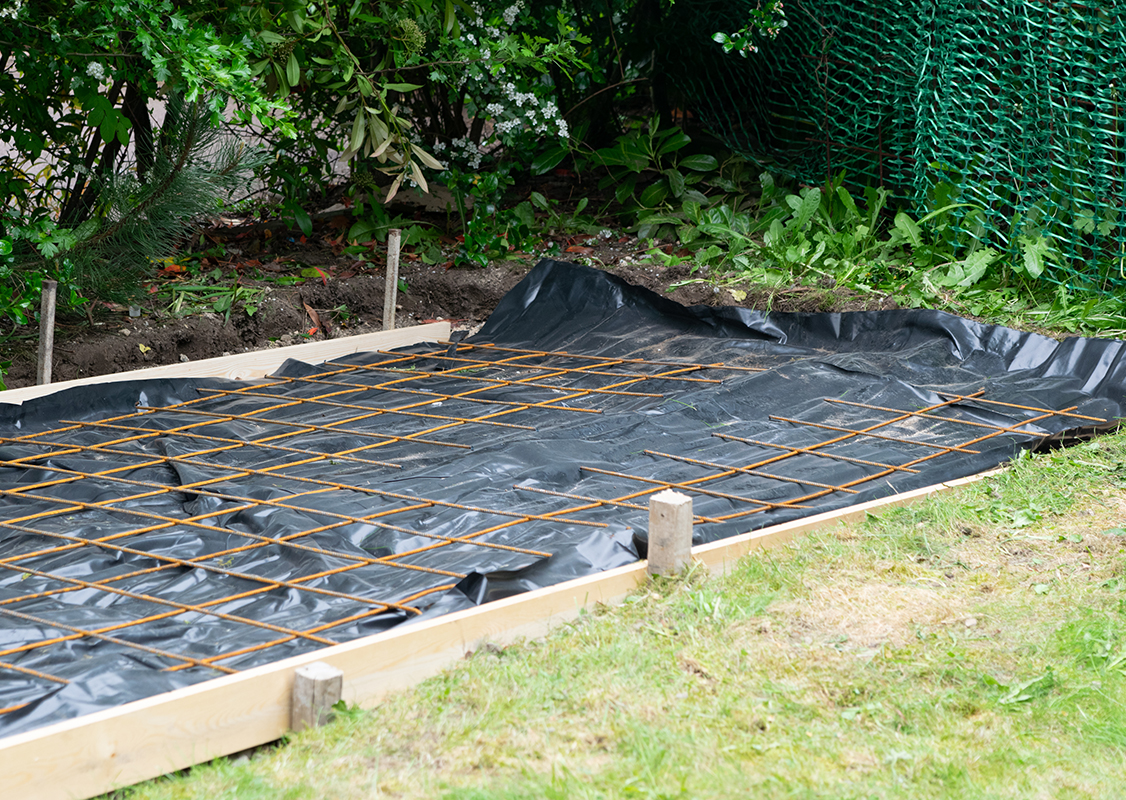 |
Pro Tip: Metal mesh - purely optional, but this will add even more strength to your base, offering an even stronger platform for your new Asgard shed. Just drop in over the membrane before pouring in the concrete for extra strength. Cut a sheet of reinforcing mesh to fit the area; make it slightly smaller than the area so that the ends of the steel reinforcing mesh will not be exposed once the concrete is set and the former is removed... |
|
If you do not have the use of a Sthil saw as I used, or a small angle grinder, you can buy a pair of cheap bolt cutters, possibly available to hire also. Make sure the reinforcing mesh is supported slightly so the mesh will be in the middle of the concrete; I used specially made concrete castles as they are known; bits of stone and bricks will work find; don't use bits of wood, though since they will rot away and leave voids in the concrete. |
 |
Step 5: Mixing & Pouring Concrete
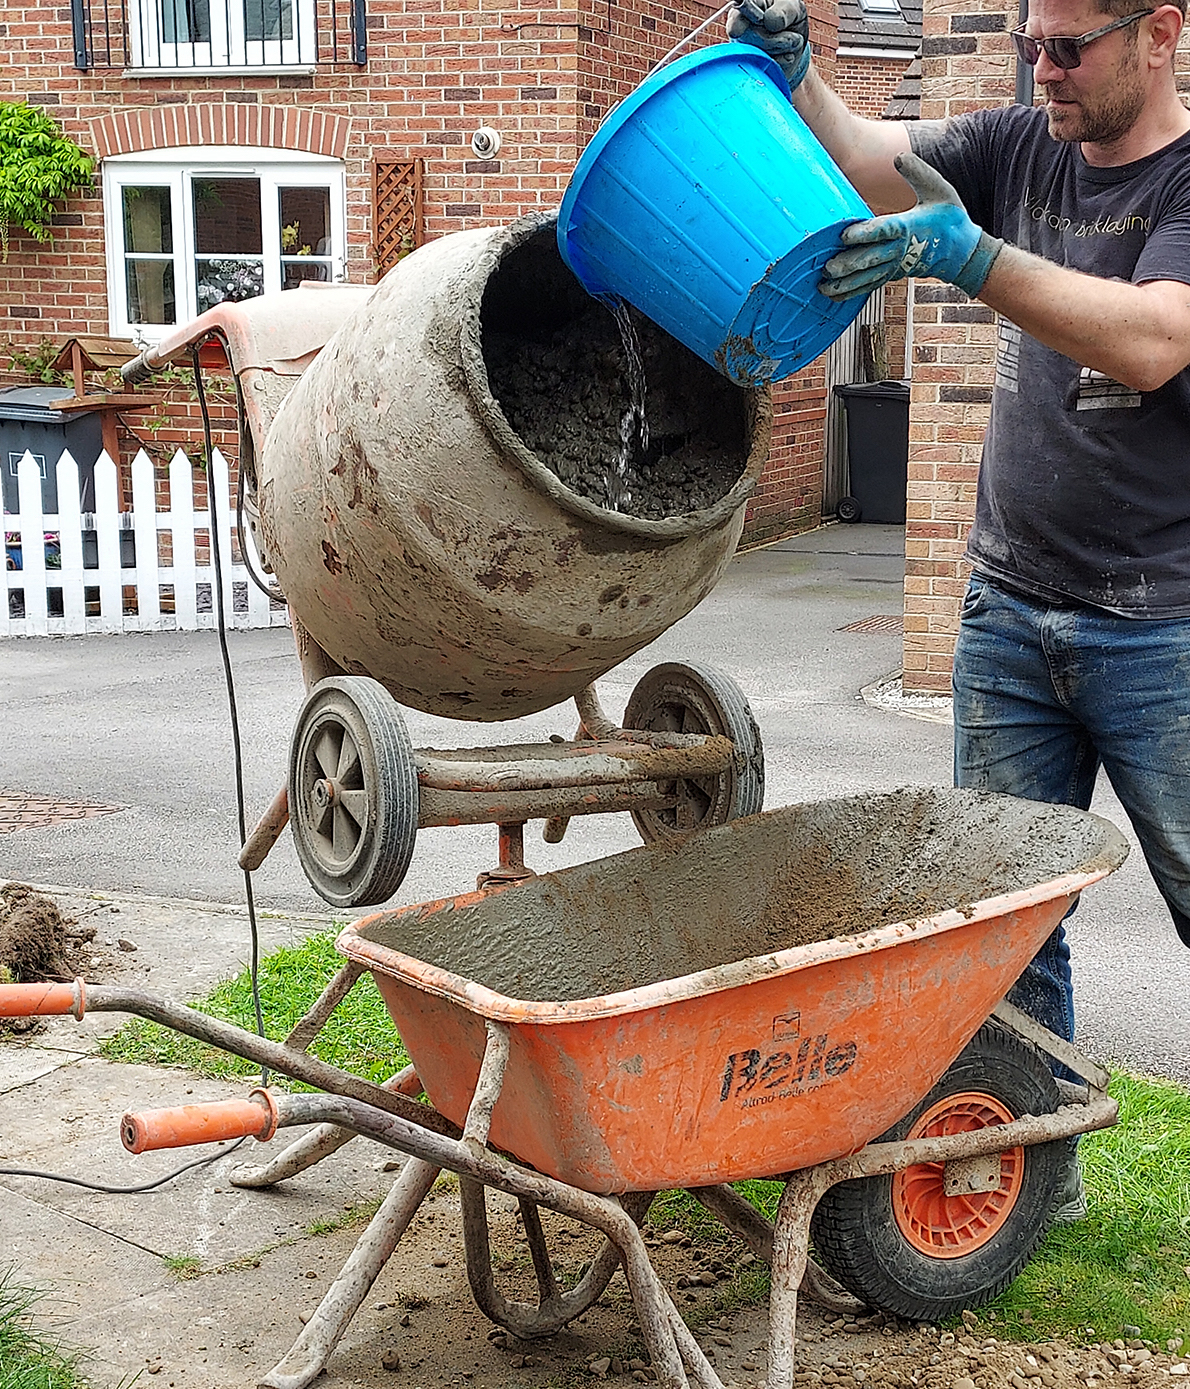 |
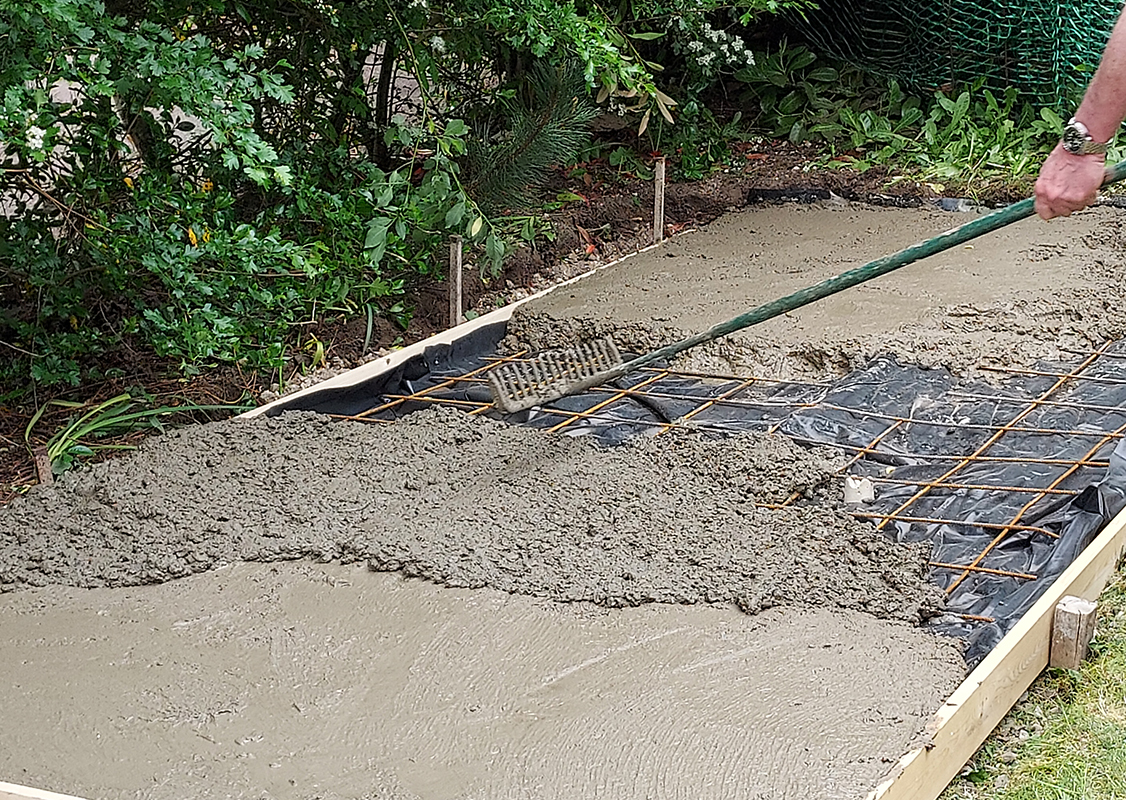
What to do: Mixing concrete & pouring concrete. Mixing Concrete: We recommend for big bases hire a mixer, it is so much easier, if not get a nice big piece of wood and mix on that. Chris used a mix of - 4 x ballast spades to 1 concrete spade plus water. This provides a strong enough mix for a base. Pro Tip: Get your material delivered from a builder's merchant. DIY stores will charge MUCH more for small bags. Pro Tip: Ballast is premixed sand and gravel for concrete; all you have to do is add cement and water. In the video, I was not measuring it out in buckets because experience has taught me the ratios based on the size of the mixer; I was putting a full 25kg bag of cement into the mixer and filling it up with enough ballast until the wet concrete was just about to start falling out of the spinning drum, this is equal to a 4 to 1 mix, or in the case of a full mix, 8 to 2 ( 8 buckets of ballast to 2 buckets of cement). |
|
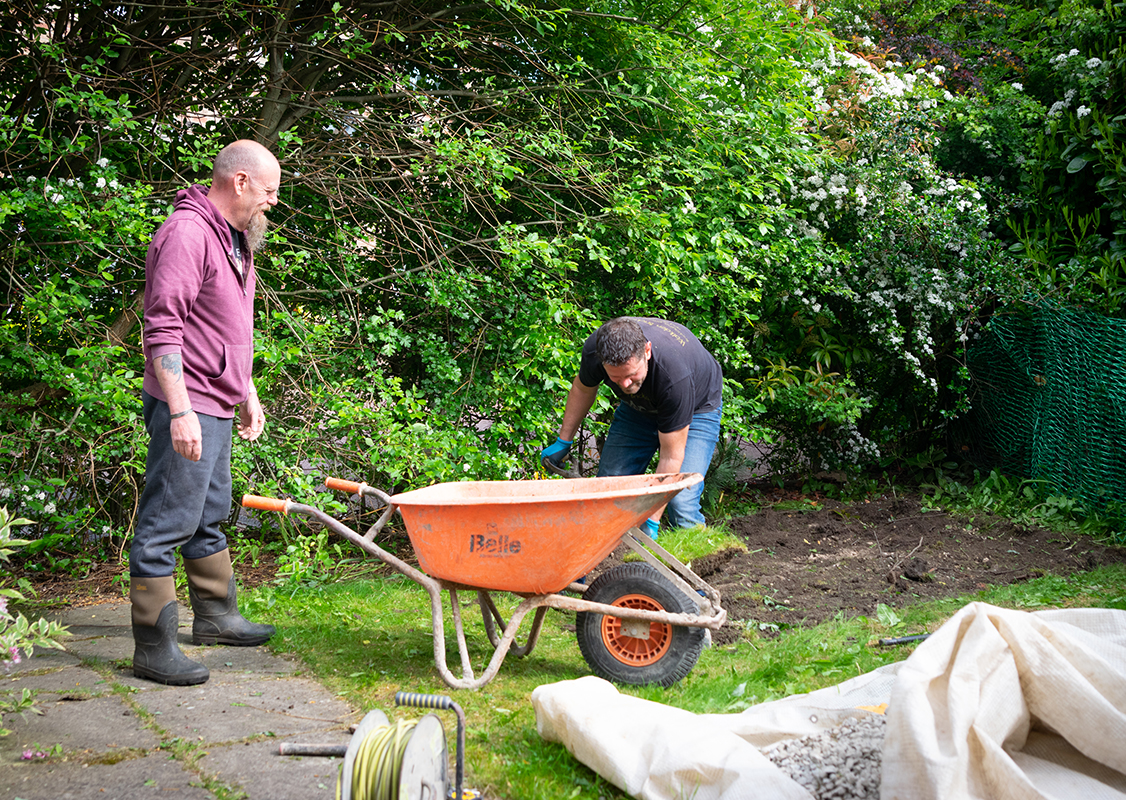
Pouring Concrete: Definitely for the fit and able - Chris mixed 10 wheelbarrows of concrete each weighing in at 100 kg. plus Pour the concrete into the middle and spread out using a scraper or a float. Pushing the concrete into the corners and right up to the top of your shuttering for a level finish. Pro Tip: Use a wheelbarrow with fully pumped-up tyres. Pour the concrete into the middle and work into the corners. Try and hire a mixer for speed and ease |
|
Step 6: Tapping Down the Mix
|
|
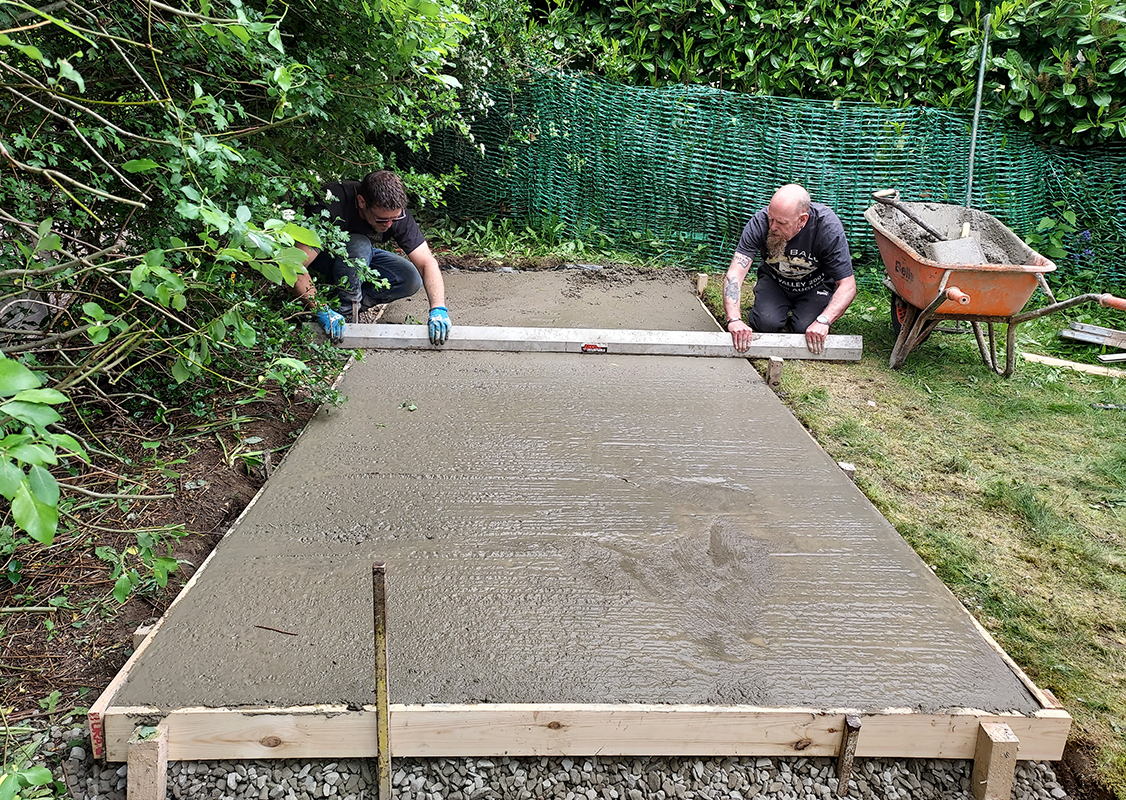
What to do: Tapping down the mix. Once you have filled the area with the concrete, get a straight flat piece of timber or a metal straightedge and tamp and scrape back the concrete using the timber former you installed earlier as a guide. Make sure the tamper stays level with the former; this way, you won't have any bumps on the surface. You can do this on your own by standing in the wet concrete while wearing some wellies, but it is easier if there are two of you to do the taming. Protip: Hire a float or get a plank of the same width as your base and tap the concrete level. This will take 20 mins or so, but keep at it for a perfectly smooth finish. |
Step 7: Levelling
|
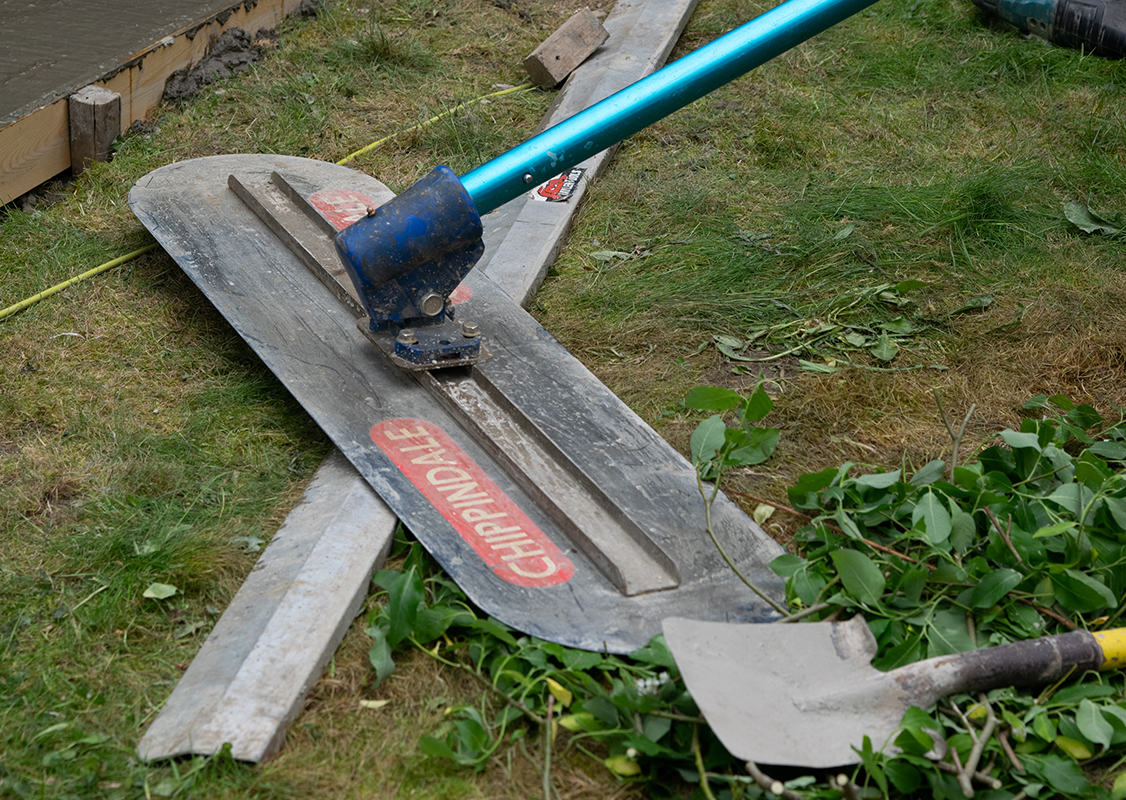
Once you have tamped the surface so it is flat and level, you can leave the concrete for an hour to let it dry up slightly. Using a large float (available to hire) go over the area to give the concrete a smoother surface. This process gives a better final finish the more it dries, and the more times you go over it If the concrete is still too wet, the float will leave marks on the surface; if this is the case, just let the concrete dry for a bit longer and try it again. The drier it gets, the easier it is to use the float and the better the final finish. The float used in the video is known as (Big Blue Float), and they cost around £15 to hire for a day). |
|
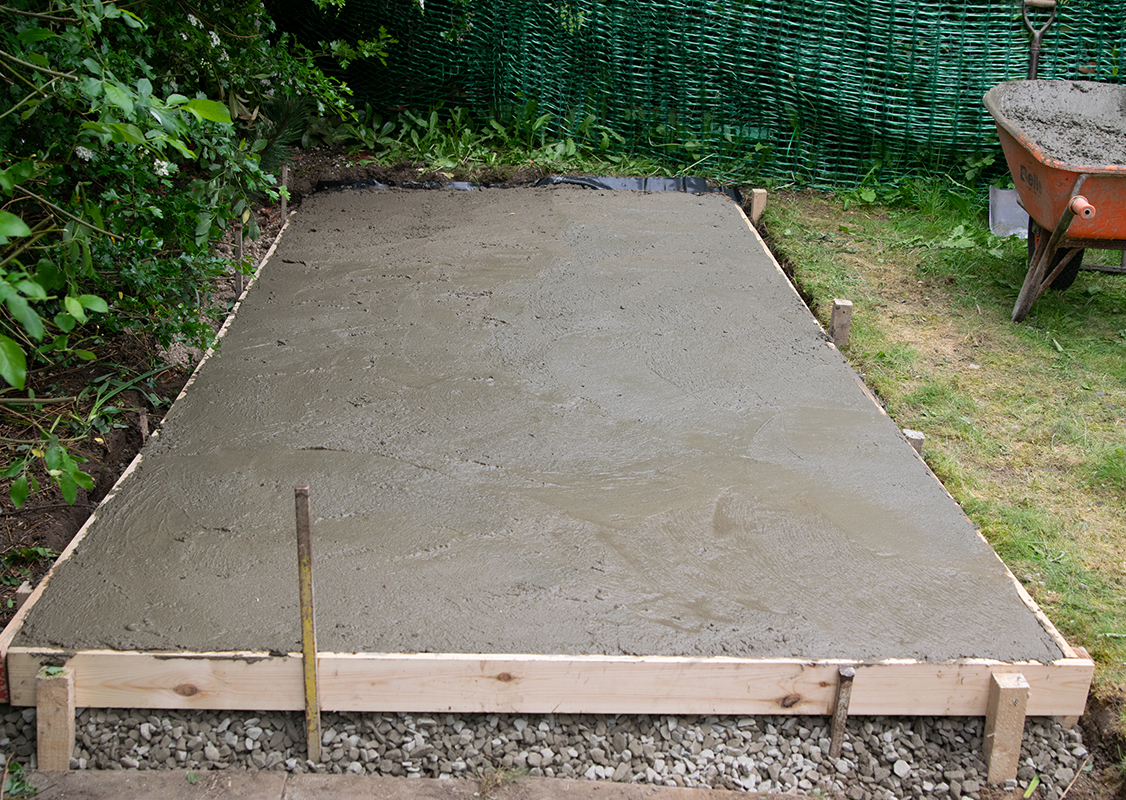
Finish: Allow a day or so for the concrete to set, remove the wooden shuttering and you have a nice new shed base.
How much does a shed base cost?
Cost of Materials (2023)
Materials used for this particular job, 2023:
- half a bulk bag of crusher-run £25.00
- 6 bags of cement £30.00
- 4 lengths of 100mm x25mm timber £15.00
- 10 wooden pegs/stakes £20.00
- 4m x 2m sheet of DPM Visqueen £8.00
- large sheet of reinforcing mesh, 3.6m x 2m £25.00
- 1.5 bulk ballast £70.00
- Big blue float £15.00
Total materials cost £208.00
Chris is happy to answer any questions on his Facebook page.
Click to find out why a level shed base is important.


