


The Asgard cycle maintenance store gets the thumbs up!
A little while back, we had a customer contact us about how they had used one of our biggest sheds as a bike maintenance shed. Asgard are not one to ignore a customer! So we have asked this customer to keep us updated as to how he got on using it through the 'summer'... we say summer as we thought we might have some sun, not so. Anyway, the constant rain has actually helped us; our customer was able to review our shed in some of the harshest conditions possible.
"Hi Tracey
As promised he is my update on your shed/my bike shop! It's a bit long, but you asked me to be honest."
Putting down a base.
As you know, I was really pleased with the original delivery; the unit was on time, even though I had forgotten to get my base down in time. So your delivery lads carefully stacked the unit in my garden for me.
My base was down a week later, at a cost of £100 + VAT. I used a local concrete firm that came along and simply poured a few cubic meters of concrete into a hole I had dug. The process took about 20 mins, no mixing concrete by hand for me! That's my top tip for anyone thinking of buying one of these big Asgard units who needs a base putting down. Mixing concrete for a base 2.2 x 2.2 x 100mm deep is a lot of heavy mixing work. I worked out that the cost for this would be £70 in materials and mixer hire; it just made no sense to do the work myself.
Construction
I won't lie to you, when you lay out all the bits and look at the number of screws, this looks like one intimidating piece of kit. The saving grace is the instruction sheet, which looks a bit like an engineering manual, but is actually really clear and easy to use. The stickers on each panel identifying what they are is a touch of genius, as at first glance, all of the panels looked the same to me.
Building this metal unit is heavy work; this being one of your biggest sheds, I can see why you recommend 2 people carry out this task. The sides are easy enough to pick up and manoeuvre, though it is nearly impossible to hold two sides at once and screw them into the base. Believe me, I tried. The front fascias are light and easy to manoeuvre. When you get through the doors, you are in a different world. They were heavy things. Due to the raised base lip, you need to lift the door about 10mm off the base to get the hinges to line up with the fixing holes. 10mm is not much, but takes afair bit of effort to hold a door steady!
I didn't bother bolting down the unit. I know this would give me increased security, but let's face it, this shed is immensely heavy. No one will move this. Besides, I have a ground anchor, which will bolt down through the base to act as a secure point.
Finally, the roof.
I thought the doors were awkward! The roof and top cap really need to be built on the ground and then lifted onto the shed. We tried to build the roof ON the shed. No chance. The roof is integral to keeping the shed perfectly square, so lowering it, squaring it up and screwing it together all at once is impossible. Two aborted attempts led to the conclusion that we should build it on the lawn, then lower it into position. That worked a treat. A tip here would be to watch the fingers! When the roof suddenly drops into place on the shed, it drops an inch down onto the walls quickly. Any fingers in the way will be squashed.
That's the build complete. Now in use.
Cracking unit in use. A third tip here. I forgot to run a line of silicone down the joins as per your instructions (missed that bit, to be honest). So, the 1st windy/rainy day I had a leak through the roof (under the capping joint). Not a huge leak, but enough to annoy me. I ran the silicone all around the unit retrospectively; luckily, you supply clear silicone, so you can hardly see it. From that moment on, the unit was water-tight.
I ordered your full shed pack, shelves, hooks and flooring.
The flooring - I thought this was too much money when I bought it, for what I thought was chipboard. Then I tried to lift it. What is it? It's heavier than the rest of the unit put together. Really good quality stuff. Watch the fingers when dropping into place, though!
Shelves - Well worth having - great for oils and tools. If you are smart, you put a shelf low down and use it as a maintenance platform.
Hooks - really handy. I ordered 10, which seems a lot, but once you have a couple of backpacks, a helmet, and a few waterproof items up there, they soon fill up.
Another tip for your customers here. Get to Wilkos and buy some plastic storage boxes (£6.00 each). Divide your riding gear into winter and summer boxes and stack them.
As a maintenance shed
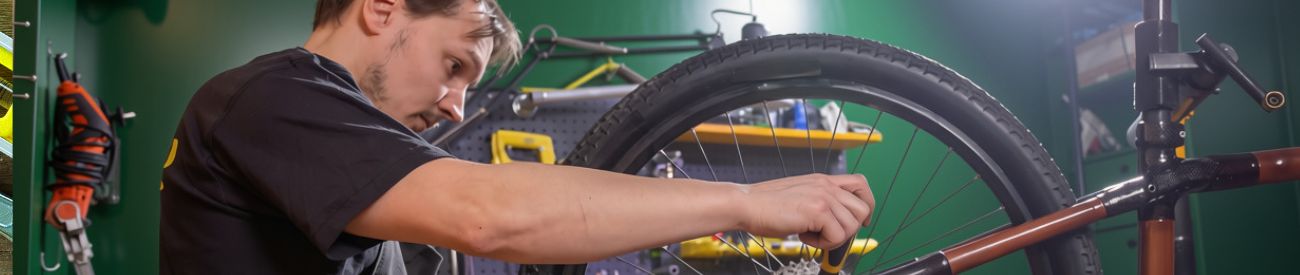
Really handy. I do have a garage, but like most peoples its full of prams and tools. Here in my 'manzone' , there is only bike gear. I have a bike maintenance stand, which I stand just outside the shed door. Perfect, I can keep out of the wind whilst I am prepping my bike. I don't bring the bike in as the oil would ruin the floor.
The shed gets a little warm in direct sunlight, so I don't stay in there too long on nice days. On a cold day, it's a great shelter from the wind and rain.
In terms of security, I really have no worries at all. This is a really solid unit. I can't imagine anyone getting in without a metal saw.
Conclusion. Great shed, but get a mate to help, and for your own sanity, buy an electric screwdriver.
I hope that is enough. Feel free to use this review in any way you see fit".


