


Building a used Asgard Metal Garden Shed:
Asgard sheds are known for their tough, hard-wearing finish, weatherproof qualities, and durability. Recently we got the chance to build an Asgard Centurion Shed that was 15 years old and had been built, stripped, built again, stripped, and dragged around the country as a demonstrator shed. So how does an Asgard stand up when built and dismantled a dozen times for over a decade??
How durable Are Asgard Sheds?
“The shed had been in storage for at least 2 years so the 1st thing we noticed was the cobwebs” - Stuart, Asgard installation. “This shed was buried in a garage and looked like it had not been touched.. Ever!”
A quick inspection showed that only one cover strip was missing, a few deep scratches were present on the bodywork and as expected the keys for the lock had long gone. So the job was to build the shed and swap the lock, easy?
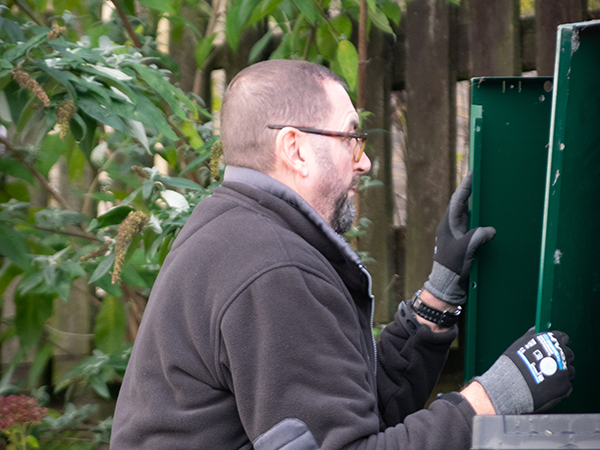 |
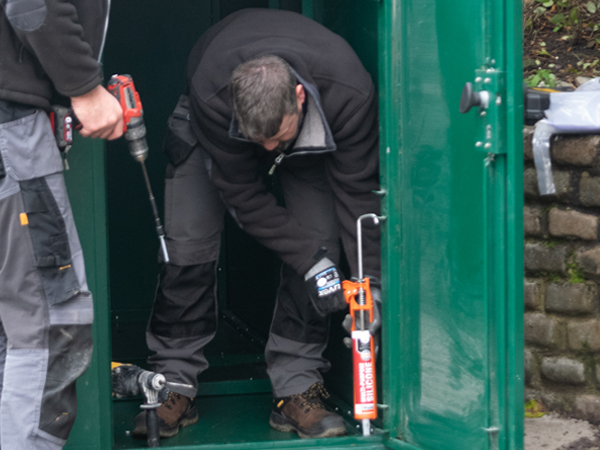
Shed Build Stage one: The preparation. Lay out the shed panels as per the instructions for a closer inspection, which revealed a few more dents to the base, but thanks to the galvanised panels, there was no rust at all, they just looked unsightly. A quick spray of touch-up paint and the scratches all but disappeared. Shed Build Stage two: - Break time for a warming coffee. A key stage of any build is hydration! |
|
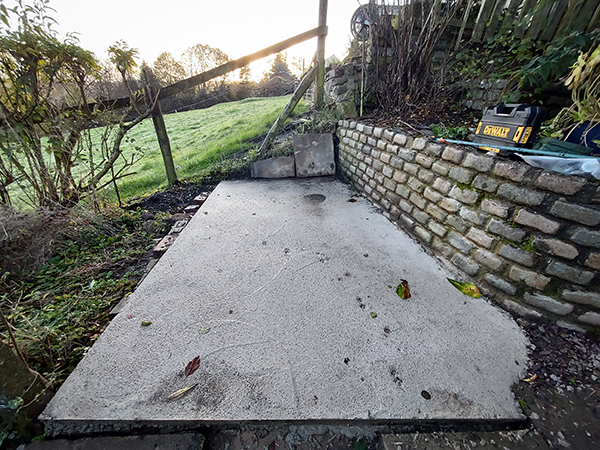
Shed Build Stage three: Base down, this is where the problems started. The base had just been put down, by a local builder, and it was pretty poor. The location was also far from ideal. The base had a “runoff” (allows water drainage in heavy rain) but it ran the wrong way. Instead of away from the house and wall, it ran into the wall. This will potentially cause long-term problems with water damage to the wall and house. The excessive angle did also mean there was a 1-inch lift on one corner of the shed. This took all of our packing pieces to level the shed base, but we did it. |
 |
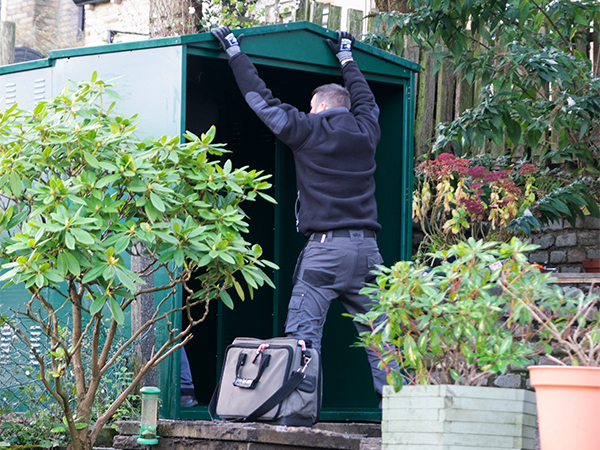 |
Shed Build Stage four: The build. Needless to say, the original screws were all missing, we had anticipated this and provided a new fixing kit. The shed went up very swiftly. The key really is getting a flat surface to build the shed on. It's really worth spending the effort getting the shed base as flat as possible. Every screw lined up to perfection, and the shed went up in around 35 mins. |
|
Shed Build Stage five: The bolt down. ….is Always tricky when we have had to pack up a shed base to this extent. There is always a natural downward movement in the shed when the bolts are tightened. After a little bit of jiggling and some packing piece adjustment, we got the shed perfectly level, with the doors aligning perfectly, and the locking bars fully engaging. |
 |
 |
Shed Build Stage six: Swapping the lock. With no key, swapping the locking system was next. A new lock is very easy to fit, so we decided to change the entire lock mechanism, not just the barrel, both are easy to do, the old lock worked fine, but the old lock mechanism was over 15 years old, so why not fit a new one while we are there? This took around 10 minutes to do. A few squirts of oil in the door hinges for good measure and we were done. |
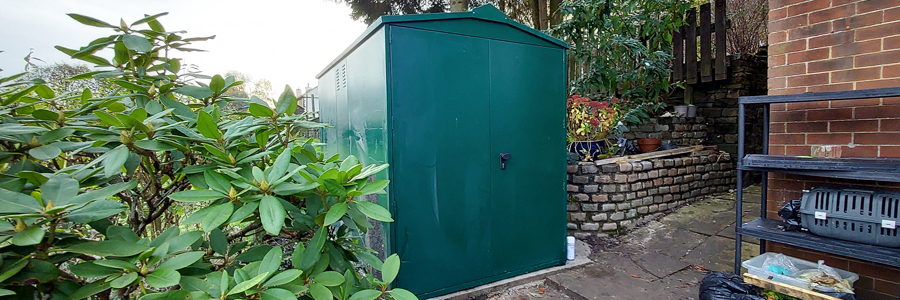
The final product:
"So after just over an hour we managed to rescue and reuse an old Asgard shed - by 10 am we had picked, sorted, packed up the base, re-oiled the hinges, built the shed and swapped a locking mechanism. A great result and shows how durable an Asgard shed is. After 15 years, its looks as good as the day it was made." - Stu - Installation.
See the Centurion metal shed here.


